
News
How to build a padel court: eight steps from plan to first match
Space, site, permits, noise, the base, the court, lighting and installation: what building a padel court involves, step by step, and how long it takes.
Published · Updated
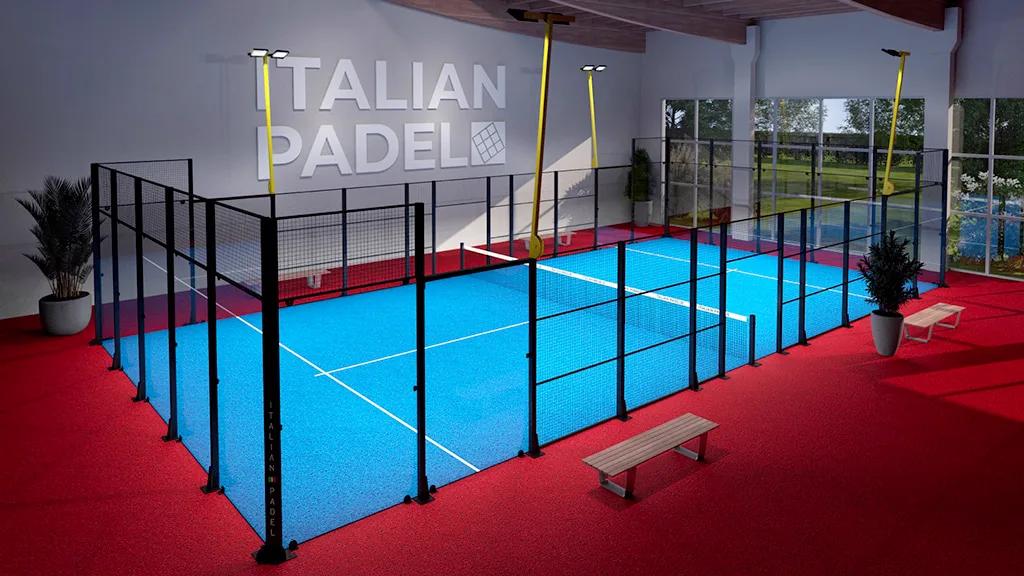
Building a padel court is less one construction job than a run of decisions: what you build, where it goes, who has to approve it, what it stands on and which court fits. Here are the steps in the order we work through them with clients, with the figures from the FIP Rules of Padel.
1. Decide what you are building
Start with the number of courts, indoor or outdoor, and double or single. A double court measures 20 × 10 m inside the walls. A single court is 20 × 6 m, a 120 m² footprint for one-on-one play, lessons or a narrow site. If players may run out through the side openings to play the ball, as competition rules allow, keep a clear area at least 3 m wide (4 m recommended) beside each opening.
2. Find the site
Indoors, the FIP rules ask for at least 6 m of free height over the whole court and suggest 8 m for new halls. Outdoors, lay the court with its long axis running north–south; anything between north-north-east and north-north-west is accepted. An existing tennis court is often a good site: one standard tennis plot fits one double and one single padel court, or three doubles if it is at least 20.8 m wide.
3. Check permits and talk to the neighbours
In Denmark and Germany a commercial court typically needs a building permit and has to fit the local zoning rules. Plan for noise early. The sound of the ball on the racket and the glass is impulsive, and a noise assessment for two courts at Årslev Tennisklub added a 5 dB(A) penalty for it. In Denmark the municipality judges each case under the Danish EPA's guidance no. 81 on noise from sports facilities (December 2025); in Germany the Sportanlagenlärmschutzverordnung (18. BImSchV) applies. We prepare the technical documentation and liaise with the authorities.
4. Prepare the base
The court needs a level base. The FIP rules allow level differences of less than 3 mm under a 3 m straightedge, and a slope of no more than 1% where the surface has no drainage. We supply the foundation specifications for your site. Panoramic Indoor is the exception: its self-supporting, self-levelling structure is designed for halls without a traditional concrete floor.
5. Choose the court
Choose the model for the view you want and the conditions it must handle: Panoramic for fully glazed back walls, Deluxe for posts all round and, outdoors, wind ratings up to 36 m/s, and a PLUS version in hot-dip galvanised steel on a coastal site. Then the finish: the frame in any RAL colour, Mondo XN turf in green, blue or terracotta, and acoustic glass for a quieter hall.
6. Plan the lighting
Light must be even and must not dazzle the players, the umpires or the audience. The underside of the light fittings has to be at least 6 m above the ground, with 8 m suggested in new facilities for lights above the court, and light poles belong outside the court. Our courts can be fitted with LED lighting.
7. Install the court
Installation takes two to three weeks on site, depending on the model and the site. Including foundations, permits and site preparation, a complete project usually takes six to ten weeks. Before delivery, check that there is about 60 cm behind each court, a gate wide enough for the materials, and room for the truck to park and unload by crane.
8. Look after it
With proper maintenance a court lasts more than 20 years. Brush the turf weekly, clean the glass monthly, check the net tension and have the structure inspected once a year.
Checklist
- Footprint: 20 × 10 m per double court and 20 × 6 m per single, plus side areas for out-of-court play
- Indoors: at least 6 m of free height, 8 m in a new hall
- Outdoors: long axis north–south
- Building permit and zoning checked with the municipality
- Noise assessed and the neighbours told
- Base level to within 3 mm under a 3 m straightedge
- Lights at least 6 m up, light poles outside the court
Send us your site plan or hall drawings with a quote request. We check them in the technical consultation, design the layout and handle everything from order to installation.